Festive DIY Holiday Ornaments: 15 Fun Ideas You Can Make at Home
The holiday season is a time of joy, togetherness, and creativity. What better way to celebrate the festive spirit than by making your own holiday ornaments?
Crafting DIY ornaments is not only an enjoyable activity for people of all ages, but it also allows you to create personalized decorations that will add a unique touch to your holiday décor. Whether you're looking to entertain the kids, host a craft night with friends, or simply create something beautiful, here are 15 easy DIY holiday ornaments that will inspire your creativity.
Painted Ornaments: A Blank Canvas for Creativity
.png)
One of the simplest yet most customizable DIY ornaments is painting wooden shapes or balls. These wooden forms, easily available at craft stores, are a blank canvas for all ages and skill levels.
What You’ll Need:
- Wooden balls or shapes
- Acrylic paint
- Paintbrushes
- Ribbon or twine for hanging
Instructions:
- Start by painting the wooden shapes in a base color. Acrylic paint works best as it dries quickly and covers evenly.
- Once the base coat is dry, add personalized designs like polka dots, names, or holiday dates. Children might enjoy painting simple shapes, while older crafters can opt for intricate designs or holiday motifs like snowflakes and trees.
- Finish by attaching a loop of ribbon or twine to the top, and your ornament is ready to hang on the tree!
This project is easy for everyone, from toddlers to adults, and it allows for endless customization. It's a fantastic way to create lasting memories and heirloom ornaments.
Related: Luxury Christmas Decor: 20 Elegant Ideas to Elevate Your 2024 Holiday
Pinecone Ornaments: A Touch of Nature with a Sparkly Twist
.png)
Bringing the outdoors inside during the holiday season is a charming tradition, and pinecones make for wonderful nature-inspired ornaments. Plus, adding a bit of sparkle takes these simple pinecones to the next level.
What You’ll Need:
- Dried pinecones
- Glue
- Glitter, sparkles, or beads
- Twine or ribbon for hanging
Instructions:
- Begin by applying glue to the edges or tips of the pinecones.
- Roll the pinecones in glitter, sparkles, or beads for a festive touch.
- Let the glue dry completely before attaching a loop of twine or ribbon for hanging.
Kids especially love this craft, as they get to play with glue and glitter while adults will appreciate the rustic, natural look these ornaments bring to the tree.
Cookie Cutter Ornaments: Fun, Festive Shapes
.png)
Cookie cutters aren’t just for baking—they can also be used to make beautiful paper ornaments. This project is perfect for kids who love to get hands-on with cutting and decorating.
What You’ll Need:
- Cookie cutters (holiday shapes like trees, stars, or snowflakes)
- Construction paper or cardstock
- Glue
- String or ribbon for hanging
Instructions:
- Use the cookie cutters as stencils to trace holiday shapes onto construction paper or cardstock.
- Cut out the shapes and glue them onto a sturdy backing, like cardstock or cardboard.
- Punch a small hole at the top, and add a loop of string or ribbon for hanging.
These cookie-cutter ornaments are lightweight and perfect for decorating trees, garlands, or even gifts.
Ribbon Bows: Simple Yet Elegant Ornaments
.png)
For a quick and easy DIY ornament that still looks polished and festive, ribbon bows are a great option. With minimal supplies, you can create a variety of different styles that will look lovely on your tree.
What You’ll Need:
- Felt, fabric, or cardstock circles
- Rickrack, ribbon, or curling ribbon
- Straight pins or glue
- Twine for hanging
Instructions:
- Cut circles from felt, fabric, or cardstock.
- Create loops with the ribbon or rickrack and gather them in the center of the circle to form a bow shape.
- Use straight pins or glue to secure the ribbon in place.
- Add a loop of twine for hanging.
These ribbon bows are ideal for adding an elegant, handmade touch to your holiday décor.
Dried Orange Slices: Natural and Fragrant Ornaments
.png)
For a natural, eco-friendly ornament with a lovely scent, dried orange slices are a beautiful option. These simple yet striking ornaments bring a pop of color and a citrusy fragrance to your tree.
What You’ll Need:
- Oranges
- Knife for slicing
- Cardstock
- Glue
- Twine or ribbon for hanging
Instructions:
- Slice the oranges into thin rounds and let them air dry for about a week.
- Once the slices are completely dried, glue them onto a cardstock backing for extra durability.
- Add a loop of twine or ribbon for hanging.
These ornaments add a lovely, natural touch to any holiday tree and are perfect for those who enjoy minimalist or nature-inspired décor.
Branch Ornaments: Rustic and Creative
.png)
Turn simple branches into whimsical ornaments by adding colorful embellishments. This craft is ideal for kids who love to get creative with glue and sparkly decorations.
What You’ll Need:
- 6-inch lengths of branches
- Hot glue or craft glue
- Pom-poms, googly eyes, glitter, or other embellishments
- Velcro dots or string for hanging
Instructions:
- Gather small, sturdy branches and cut them into 6-inch lengths.
- Use hot glue to attach fun decorations like pom-poms, googly eyes, or glitter to the branches.
- Once the glue is dry, attach a piece of Velcro or string to the top for hanging.
Branch ornaments bring a rustic, whimsical element to your tree, and they’re fun for all ages to make.
Salt Dough Prints: Classic and Fun for Kids
.png)
Salt dough ornaments are a classic holiday craft that kids love. They’re easy to make, customizable, and long-lasting.
What You’ll Need:
- 1 cup salt
- 2 cups flour
- Cookie cutters
- Buttons, candy, or cinnamon sticks for imprints
- Ribbon or twine for hanging
Instructions:
- Mix the salt and flour with water to form a dough. Roll it out to about ¼ inch thick.
- Use cookie cutters to cut out shapes, and press objects like buttons or cinnamon sticks into the dough to create imprints.
- Bake the shapes in the oven until hard, then drill a small hole at the top for hanging.
- Thread ribbon or twine through the hole for easy hanging.
Salt dough ornaments are a nostalgic favorite that can be personalized with names, dates, or festive imprints.
Candy Cane Grammie: Sweet and Simple
.png)
For a festive and edible ornament, try making candy cane shapes from peppermint candy. These sweet treats will look adorable on your tree, and they’re easy to make!
What You’ll Need:
- Peppermint candy strips
- Cloth, ribbon, or baker's twine
- Glue
Instructions:
- Bend strips of red and white peppermint candy into the shape of a candy cane.
- Glue the ends together to hold the shape.
- Attach a strip of cloth, ribbon, or baker's twine for hanging.
These candy cane ornaments are simple, sweet, and perfect for the holiday season.
Fabric-Wrapped Ornaments: Rustic and Cozy
.png)
Create a rustic, cozy ornament by wrapping fabric or felt squares around small items like uncooked rice or beans. This is an easy and inexpensive craft that results in charming, homemade ornaments.
What You’ll Need:
- Fabric or felt squares or circles
- Uncooked rice, lentils, or beans
- Ribbon or string for tying
Instructions:
- Place a small amount of rice, lentils, or beans in the center of a fabric or felt square.
- Gather the edges of the fabric and tie it closed with a piece of ribbon or string.
- Attach a loop of ribbon or twine for hanging.
These fabric-wrapped ornaments have a lovely, rustic feel and are perfect for adding a touch of warmth to your holiday decorations.
Styrofoam Balls: Shimmering, Festive Ornaments
.png)
For a bit of sparkle on your tree, try decorating Styrofoam balls with glitter, sequins, and other decorative items. These ornaments are easy to make and look stunning when they catch the light.
What You’ll Need:
- Styrofoam balls
- Glitter, sequins, or gems
- Glue
- Ribbon or string for hanging
Instructions:
- Cover the Styrofoam balls in glue and roll them in glitter or sequins.
- Allow the glue to dry completely.
- Attach a loop of ribbon or string for hanging.
These shimmering ornaments will add a touch of sparkle and elegance to your holiday tree.
Macaroni Rudolph: Fun and Quirky
.png)
Turn macaroni into a whimsical reindeer ornament with this fun craft. Kids will love using pasta to create these adorable holiday decorations.
What You’ll Need:
- Red and black macaroni
- Googly eyes
- Pom-poms and glitter
- Cardboard or craft sticks
- Green twigs for antlers
- Ribbon for hanging
Instructions:
- Glue the macaroni pieces onto a piece of cardboard to form the shape of a reindeer.
- Add googly eyes, pom-poms, and glitter to decorate the face.
- Use small green twigs for the reindeer’s antlers, and attach ribbon for hanging.
This quirky ornament is perfect for kids who enjoy creating with unconventional materials.
Jar Lid Santa: Recycle and Create
.png)
Repurpose jar lids into adorable Santa ornaments with a little paint and creativity.
Related: Whimsical Grinch Christmas Décor: 15 Easy DIY Ways to Deck Your Halls
What You’ll Need:
- Clean jar lids
- Paint
- Pom-poms, bells, or scarves
- Googly eyes
- Craft sticks for hanging
Instructions:
- Paint simple Santa faces onto the jar lids.
- Add pom-pom hats, bells, or scarves for a festive touch.
- Glue googly eyes onto the face, and attach a craft stick to the back for hanging.
These jar lid Santas are a fun and eco-friendly way to create holiday ornaments.
Paper Plate Snowman: Build a Snowman Family
.png)
Craft a whole family of snowmen using paper plates and a few simple supplies. This is a great project for younger kids who want to get involved in holiday decorating.
What You’ll Need:
- Paper plates
- Googly eyes, pom-poms, glitter pipe cleaners
- Cardstock for backing
- Glue and scissors
Instructions:
- Cut the paper plates into snowman shapes (you can stack them to create a snowman body).
- Use googly eyes, pom-poms, and glitter pipe cleaners to decorate the snowmen.
- Glue the snowman to a piece of cardstock for stability and add a loop of string for hanging.
These cheerful snowmen will bring a smile to anyone who sees them.
Button Frames: Personalized Picture Ornaments
.png)
Create personalized picture ornaments by decorating frames with colorful buttons.
What You’ll Need:
- Picture frames or Tic-Tac-Toe boards
- Colorful buttons
- Glue
- Ribbon for hanging
Instructions:
- Glue colorful buttons onto the frame in holiday patterns.
- Insert a favorite photo into the frame and add a ribbon for hanging.
These button-frame ornaments make wonderful personalized gifts for family and friends.
Cardstock Shapes: Light and Airy Holiday Décor
.png)
Cardstock shapes are easy to cut, decorate, and hang, making them a great option for lightweight tree ornaments.
What You’ll Need:
- Cardstock, construction paper, or felt
- Glitter, sequins, beads
- Ribbon for hanging
Instructions:
- Cut holiday-themed shapes from cardstock or construction paper.
- Decorate the shapes with glitter, sequins, and beads.
- Add a ribbon for hanging.
These lightweight ornaments are perfect for filling in gaps on your tree or decorating smaller spaces.
Related: Holiday Magic: 17 Gingerbread House Ideas You’ll Love Building
Final Thoughts
Creating your own holiday ornaments is a fun, festive way to get into the holiday spirit. Whether you're crafting with kids, friends, or on your own, these 15 easy DIY holiday ornaments offer various options for every skill level. From painted wooden shapes to glittery pinecones, the possibilities are endless for personalizing your holiday décor. So grab your crafting supplies, put on some holiday music, and let the creativity flow!
DEALS DELIVERED TO YOUR INBOX.
Subscribe now for top-notch shopping & Investing advice. Receive hot Vouchers into your wallet
By submitting your information you agree to the Terms & Conditions and Privacy Policy
Related Articles
.png)
Pineapple Mocktails: 3 Unique Recipes for a Refreshing Summer

Spook Up Your Party with These 10 Easy Halloween Drinks Recipes for 2025 – Mix Them Up Now!

Your Legal Compass: Finding the Best Real Estate Attorney in 2025

10 Vintage Lace Wedding Invitation Ideas That Weave Timeless Romance into Every Detail

Timeless & Ethereal: Top 10 Medieval Makeup Ideas for a Noble Glow

Whispers in the Sky: Pastel Cloud Tattoo Ideas That Float with Feeling
Popular Brands
View all
Wyckoff Stock Market Institute
5 Coupons Available

Ledger
5 Coupons Available

Koinly
5 Coupons Available
Profile Picture AI
5 Coupons Available

Funding Frontier
5 Coupons Available

Shopia AI
5 Coupons Available
Popular Articles
View all
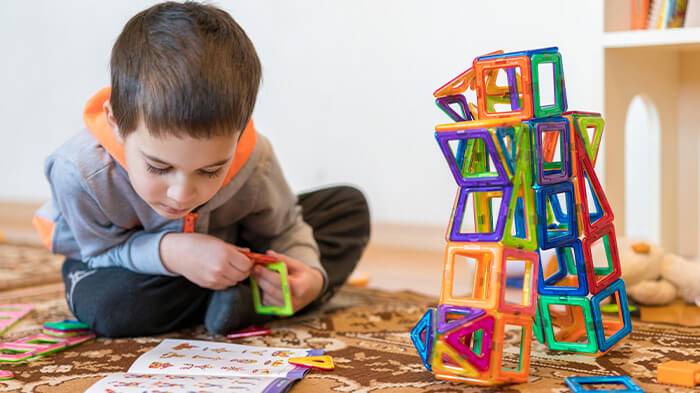
Best Educational Toys for Kids: Fostering Fun and Learning

Eco-Friendly Wedding Decor: Top 10 Sustainable Ideas for a Green Celebration

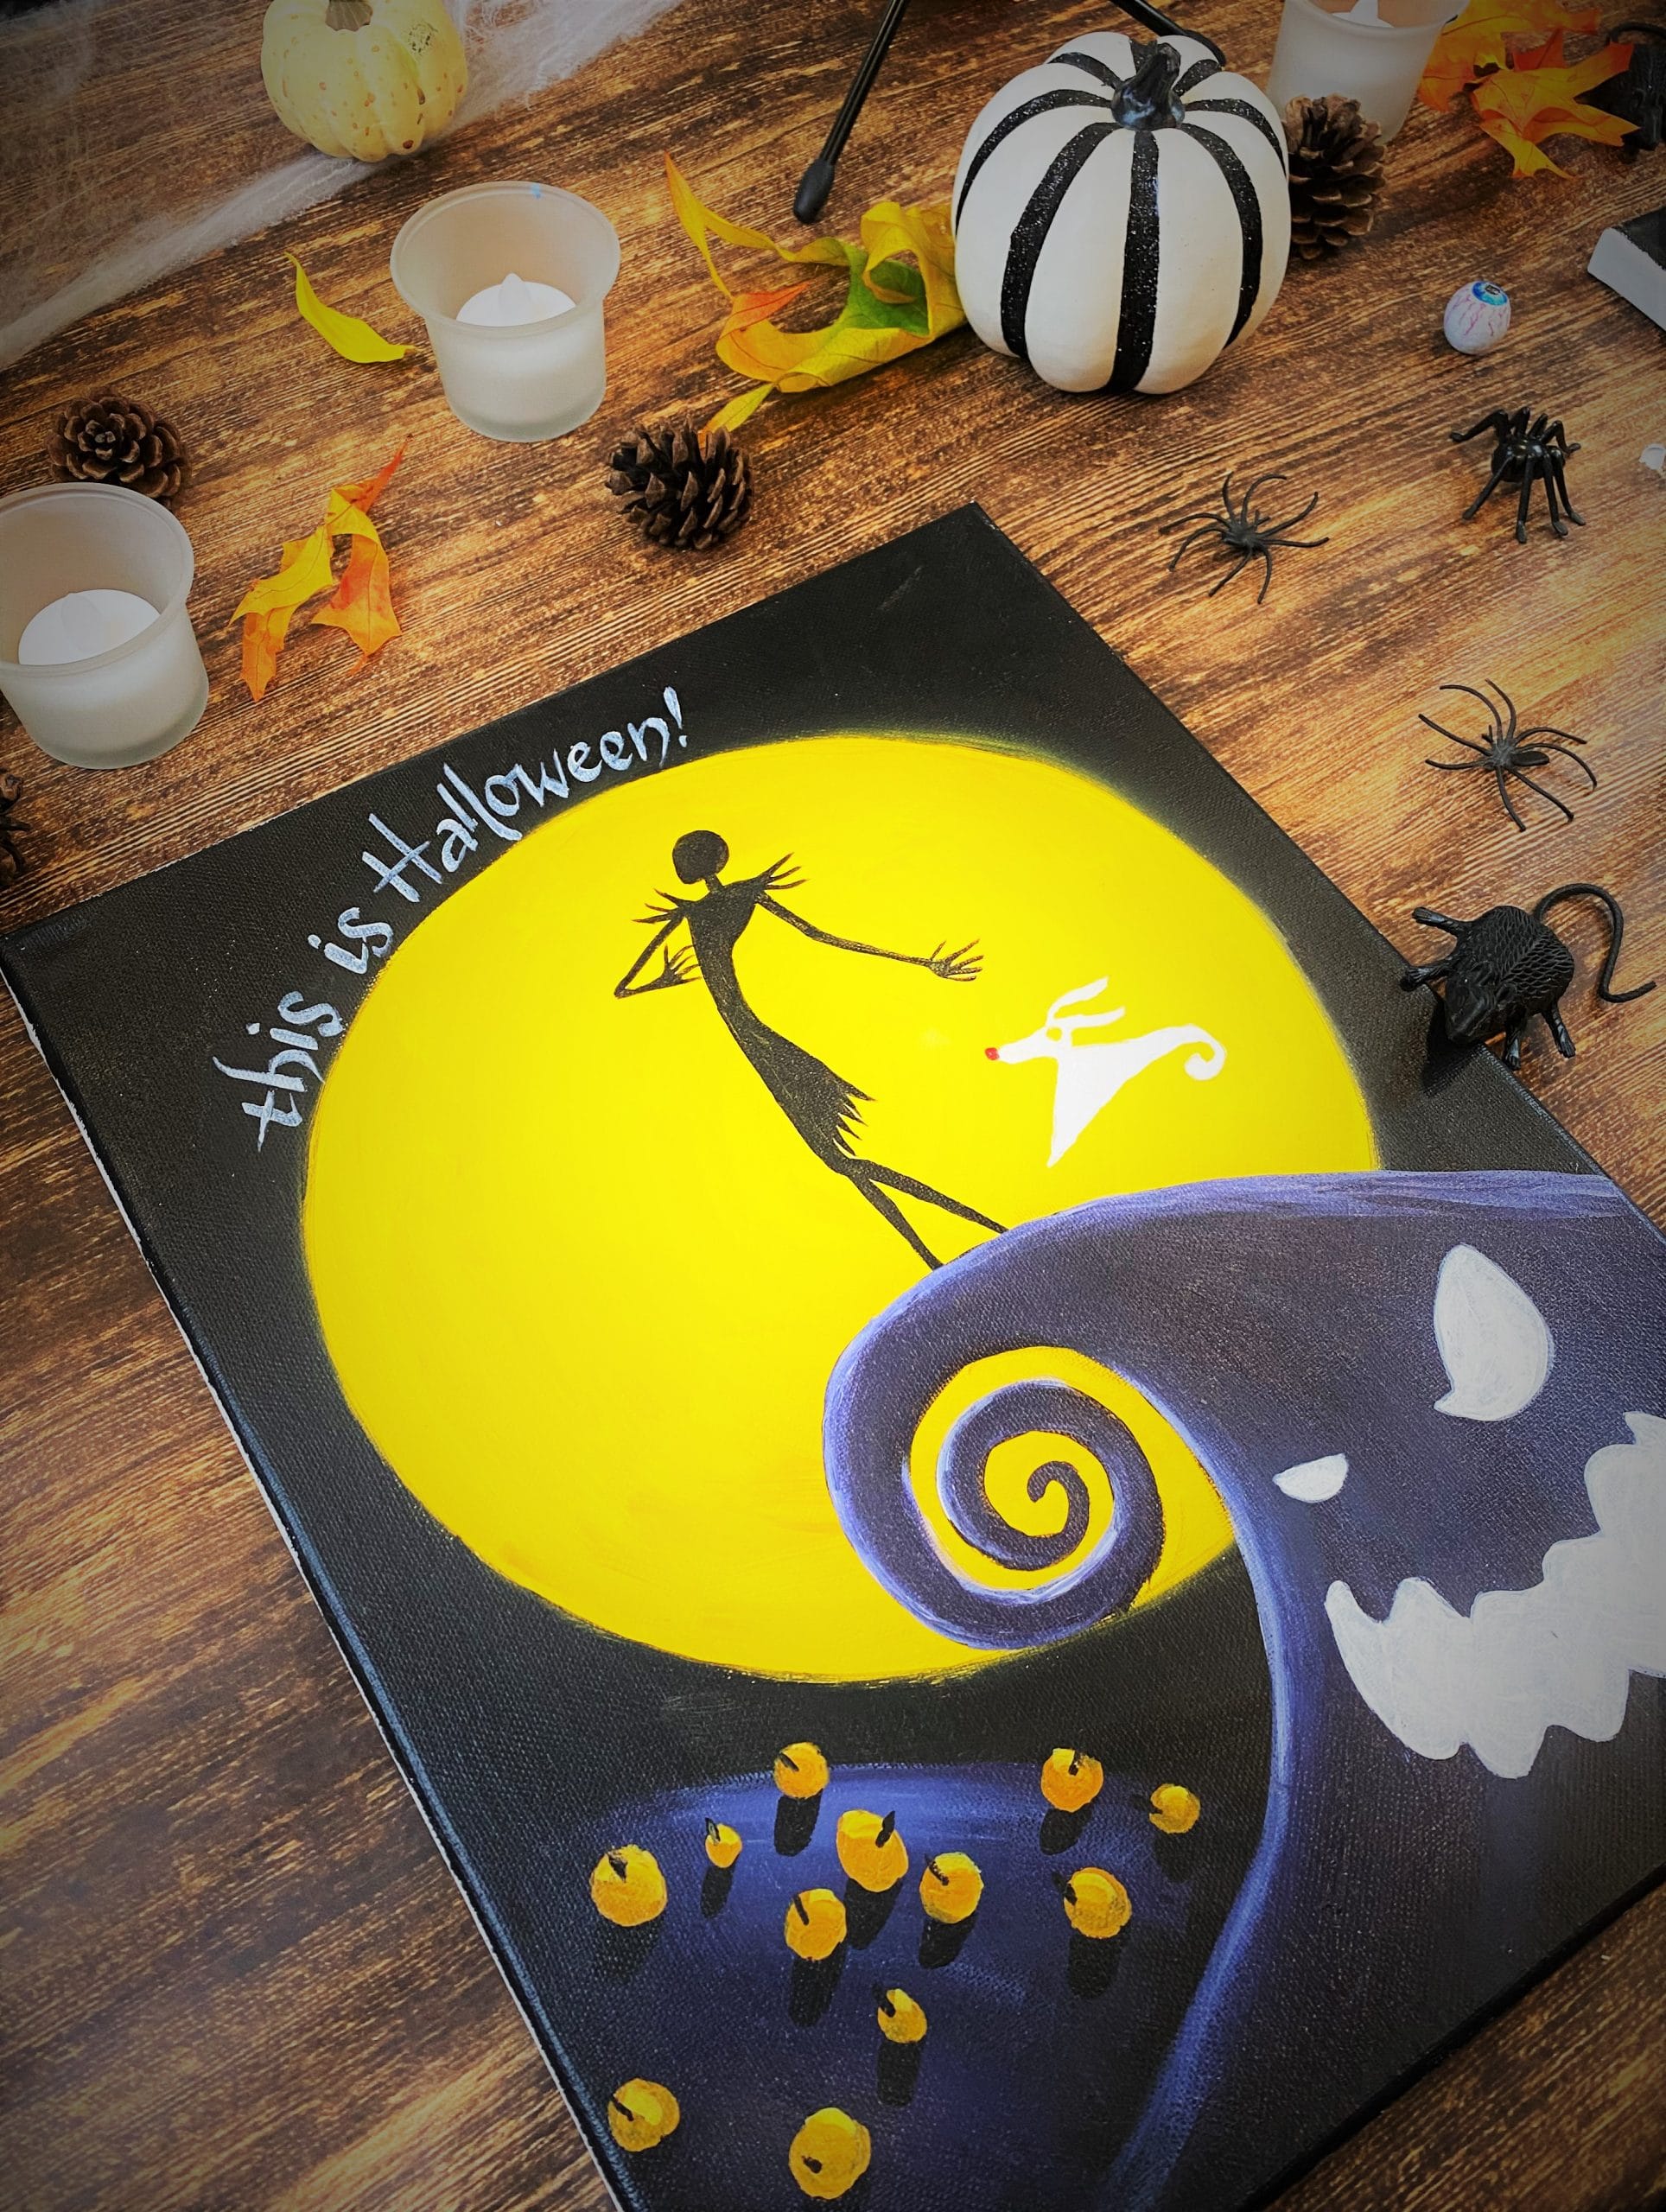
Nightmare Before Christmas Sip and Paint Night (Today • 7:00 PM, Corner 52, From $45.00)

Seasonal Winter Cocktails to Warm Your Spirits
.png)
Best Raspberry Cheesecake Mousse Recipe (No-Bake, Creamy & Bursting with Fresh Flavor)

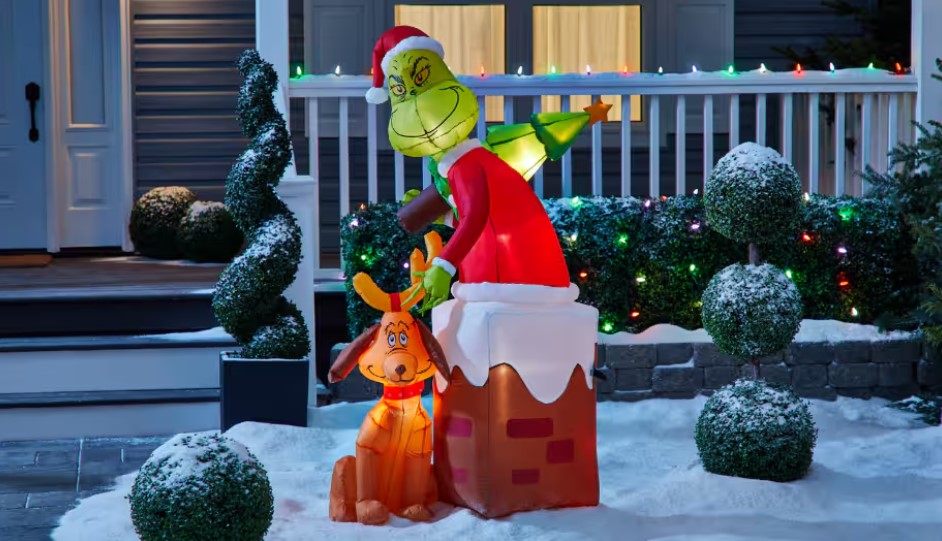
Whimsical Grinch Christmas Décor: 15 Easy DIY Ways to Deck Your Halls
LATEST
.png)
Last updated: Jun 4, 2025

Last updated: Sep 16, 2025

Last updated: Jun 19, 2025

Last updated: Aug 20, 2025
.png)
Last updated: Jun 3, 2025

Last updated: Jul 23, 2025
