How to Make a Stunning Mirror Glaze Cake: A Complete Guide
.jpg)
If you're looking to wow your friends, family, or party guests with a cake that looks like it belongs in a patisserie — glossy, elegant, and mirror-smooth — a mirror glaze cake might be just the thing.

In this guide, we’ll walk through everything you need to know: what a mirror glaze is, why it works, step-by-step instructions, troubleshooting tips, and creative ideas to play with colors and designs**. We’ll also draw inspiration from trusted recipes, including the one from Sugar Geek Show.
What Is a Mirror Glaze?

A mirror glaze is a glossy, shiny coating poured over cakes — especially mousse cakes, entremets, or smoothly frosted buttercream cakes. The effect is reflective enough to look like a mirror, hence the term. The secret behind its shine lies in a carefully balanced mixture of sugar, gelatin, condensed milk, and white chocolate.
Unlike traditional icing or fondant, mirror glaze gives the cake a silky, glass-like surface that feels almost luxurious. Professional pâtissiers often use it for high-end entremets, but it's absolutely possible (and fun) to replicate at home.
Why Use a Mirror Glaze?

Here are some of the biggest benefits of using a mirror glaze on your cake:
-
Visual Impact: It’s dramatic. The high-gloss finish and vibrant colors turn your cake into a centerpiece.
-
Versatility: You can use it on mousse cakes, cheesecakes, or buttercream cakes — as long as the surface is smooth and cold/frozen.
-
Creative Freedom: With gel food coloring, you can create marbled effects, color gradients, or even galaxy-inspired styles.
-
Relatively Easy to Make: While it sounds fancy, the ingredients are pretty straightforward and accessible.
Core Ingredients of a Mirror Glaze

A typical mirror glaze recipe (like Sugar Geek Show’s) uses the following core ingredients: Granulated sugar
-
Water
-
Gelatin (powdered)
-
More water (to bloom the gelatin)
-
Sweetened condensed milk
-
White chocolate (high quality — the better the chocolate, the better the shine)
-
White food coloring or gel food coloring
These base ingredients give you a blank “canvas” that you can tint with food coloring, blend into multiple shades, or swirl for a marbled effect.
Step-by-Step Mirror Glaze Recipe (Inspired by Sugar Geek Show)

Here’s how to make a classic mirror glaze, with detailed steps:
1. Prepare Your Cake
-
Your cake needs to be very smooth. If you’re using buttercream, apply a crumb coat first, then a clean final coat.
-
Once frosted, freeze the cake solid. This is crucial: the glaze sets best on a frozen or very cold cake.
-
Place the cake on a raised surface (e.g., a can or a bowl) inside a tray or rimmed baking sheet. This way, any excess glaze will drip into the tray, not on your counter.
2. Bloom the Gelatin
-
In a small bowl, combine the gelatin powder with a portion of cold water. Let it sit for about 10–15 minutes so the gelatin absorbs the water and “blooms.”
-
This step is critical because properly bloomed gelatin ensures your glaze sets well.
3. Create the Sugar Syrup
-
In a medium saucepan, combine the granulated sugar and the first portion of water.
-
Heat gently over medium-low heat, stirring until the sugar dissolves and the mixture starts to simmer. Be careful — do not bring it to a rolling boil. Remove from heat as soon as simmering begins.
4. Add Gelatin to the Syrup

-
Once the syrup has just simmered, remove it from the heat and immediately stir in the bloomed gelatin.
-
Stir until the gelatin completely dissolves. This integrates the gelatin network that will help your glaze set.
5. Mix in Condensed Milk and White Chocolate
-
In a separate, heat-proof container, combine the sweetened condensed milk and chopped white chocolate.
-
Pour the hot syrup (with the dissolved gelatin) over the white chocolate–condensed milk mix.
-
Let it sit for about 4–5 minutes so the chocolate has a chance to melt from the residual heat.
-
Use a whisk or immersion blender to mix until completely smooth and glossy.
6. Color the Glaze
-
Once the mixture is smooth, add your food coloring. For a classic white glaze, a couple of drops of white food coloring may be enough. For more vibrant or custom colors, use gel food coloring.
-
To make multiple colors (for marbling, layered effects, or designs), divide the glaze into smaller bowls and tint each bowl separately.
7. Strain the Glaze
-
Pour the glaze through a fine-mesh strainer (or chinois) to catch any lumps, partially dissolved gelatin, or unmelted chocolate.
-
This step ensures a super-smooth final finish — no bumps or imperfections on your cake surface.
8. Cool to the Correct Pouring Temperature

-
Allow the glaze to cool to around 90 °F (32 °C) before pouring.
-
This temperature is important: if the glaze is too hot, it’ll run off too quickly and won’t coat well; too cold, and it may thicken too much or set before you’ve poured.
9. Glaze the Cake
-
Pour the glaze over the frozen cake, starting at the edges and letting it drip down the sides.
-
If using multiple colors, pour them one at a time to create a marbled or layered effect.
-
Work quickly. The glaze starts to set as it cools.
10. Remove Drips and Let Set
-
Let the glaze sit for about 5 minutes, then use a hot knife (or offset spatula dipped in hot water and wiped) to trim off excess drips around the bottom for a clean edge.
-
Once trimmed, transfer the cake carefully to the refrigerator to fully set.
Troubleshooting Common Mirror Glaze Issues

Even with good technique, mirror glaze can be finicky. Here are some common problems and how to fix them:
-
Glaze is Too Thick or Rubbery
-
Likely over-cooled or too much gelatin. Some bakers report that when glaze cools too far below the ideal temperature, it becomes rubbery.
-
Fix: Warm it gently (e.g., in a water bath), whisk to re-emulsify, and re-check the temperature.
-
-
Glaze Runs Off the Cake Too Quickly
-
This often means the glaze is too hot or the cake isn’t cold/frozen enough.
-
Fix: Wait for the glaze to cool more; also ensure the cake is well-frozen so the glaze sets on contact.
-
-
Bumpy or Lumpy Surface
-
Could be unmelted chocolate, undissolved gelatin, or air bubbles.
-
Fix: Strain the glaze well through a fine-mesh sieve. Use an immersion blender carefully to smooth lumps and minimize bubbles.
-
Also, make sure to pour smoothly and avoid incorporating too much air.
-
-
Loss of Shine Over Time
-
Mirror glaze tends to lose its glossy sheen after about 24 hours. Sugar Geek Show notes this explicitly.
-
Fix: Glaze your cake as close to serving time as possible. Store the glazed cake in the fridge until ready.
-
-
Condensation or Drip Marks
-
If the cake has moisture (condensation) when you glaze, it can interfere. Some bakers suggest letting the cake warm a little after removing from freezer so condensation doesn’t form.
-
Fix: Blot any condensation, make sure the glaze consistency is right, and pour carefully.
-
Creative Ideas and Variations

Once you’ve mastered the basic mirror glaze, you can get really creative:
-
Marbled or Swirled Glaze: Use two or more tinted glazes. Pour them in concentric circles or alternate colors to create a marbling effect.
-
Galaxy Theme Cake: Use deep blues, purples, and black glazes, and swirl in white or silver for “stars.”
-
Flavor Variations: Try adding fruit purée (like raspberry or blueberry) or fruit-flavored gelatin. King Arthur Baking has a berry mirror glaze recipe that uses berry purée.
-
Special Glazes: For a neutral clear glaze (no white chocolate), Tom’s Patisserie has a simple recipe using just sugar, water, and gelatin.
-
Textured Finishes: After glazing, you can dust edible luster powder, gold dust, or sprinkles while the glaze is still tacky for a decorative finish.
Tips for Success: Pro Baker Advice

-
Use high-quality white chocolate: Cheap chocolate may contain vegetable fats or not melt smoothly, which affects the finish.
-
Use a thermometer: Accuracy of the glaze temperature is important.
-
Strain diligently: A fine sieve will catch undissolved bits and air bubbles.
-
Keep your blender low: Use the immersion blender carefully, keeping the stick fully submerged to avoid aerating too much.
-
Be generous: Make more glaze than you think you need — running out mid-pour is stressful, and leftover glaze can often be reheated and reused (although color mixing can be tricky).
-
Store well: After glazing, refrigerate your cake. Leftovers should be kept cool and served within about a day for best shine.
Why This Technique Is Worth Trying

Learning to make mirror glaze is more than just a flashy cake trick. It’s a way to elevate your baking skills, experiment with colors and design, and bring a professional patisserie look into your home kitchen. Whether you're making a cake for a birthday, wedding, holiday, or just because — a mirror glaze adds that wow factor.
Plus, once you've got one batch down, you’ll be more confident trying creative variations: layered cakes, themed glazes, even sculpted mousse cakes. And the best part? When you cut into your mirror-glazed masterpiece, the glossy shell gives way to delicious cake, mousse, or filling — it’s as satisfying to eat as it is to admire.
Final Thoughts
Creating a mirror glaze cake at home is absolutely doable — even if it seems intimidating at first. Focus on the key steps: bloom your gelatin, heat the syrup properly, strain, cool to the right temperature, and pour over a frozen, smooth cake. With a little patience, practice, and care, you’ll be able to make stunning glossy cakes that look like they came from a professional bakery.
Remember: the mirror glaze loses its shine over time, so plan to glaze your cake the same day you plan to serve it. And don’t be afraid to experiment with color, shape, and design — that’s part of the fun.
Happy baking, and may your next cake shine brilliantly like a mirror!
DEALS DELIVERED TO YOUR INBOX.
Subscribe now for top-notch shopping & Investing advice. Receive hot Vouchers into your wallet
By submitting your information you agree to the Terms & Conditions and Privacy Policy
Related Articles

Pure by Nature: The Allure of Organic Scents Perfume for the Conscious Soul

Bloom in Autumn with These 10 Stunning Fall Floral Centerpieces for Weddings in 2025 – Design Yours Now!

12 Braided Hairstyles for Back to School: Easy and Stylish Looks
.png)
Top 5 Vitamins to Soothe Inflammation and Ease Arthritis Pain
.png)
The Ultimate Chocolate Drip Cake Recipe – Foolproof, Shiny & Perfect Every Time

Spoon Into Health: 10 Irresistible Smoothie Bowl Ideas to Brighten Your Mornings
Popular Brands
View all
BoostbyAI.solutions
5 Coupons Available
.svg)
Vidyo.ai
5 Coupons Available
Homeoved
4 Coupons Available
NSEAI
5 Coupons Available
Afforai
5 Coupons Available
TimeOS
5 Coupons Available
Popular Articles
View all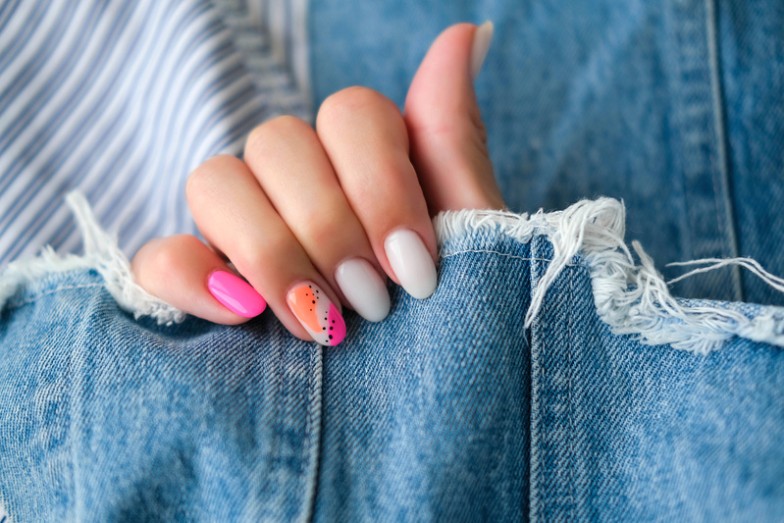
15 Easy Summer Nail Ideas – Fresh & Simple Designs
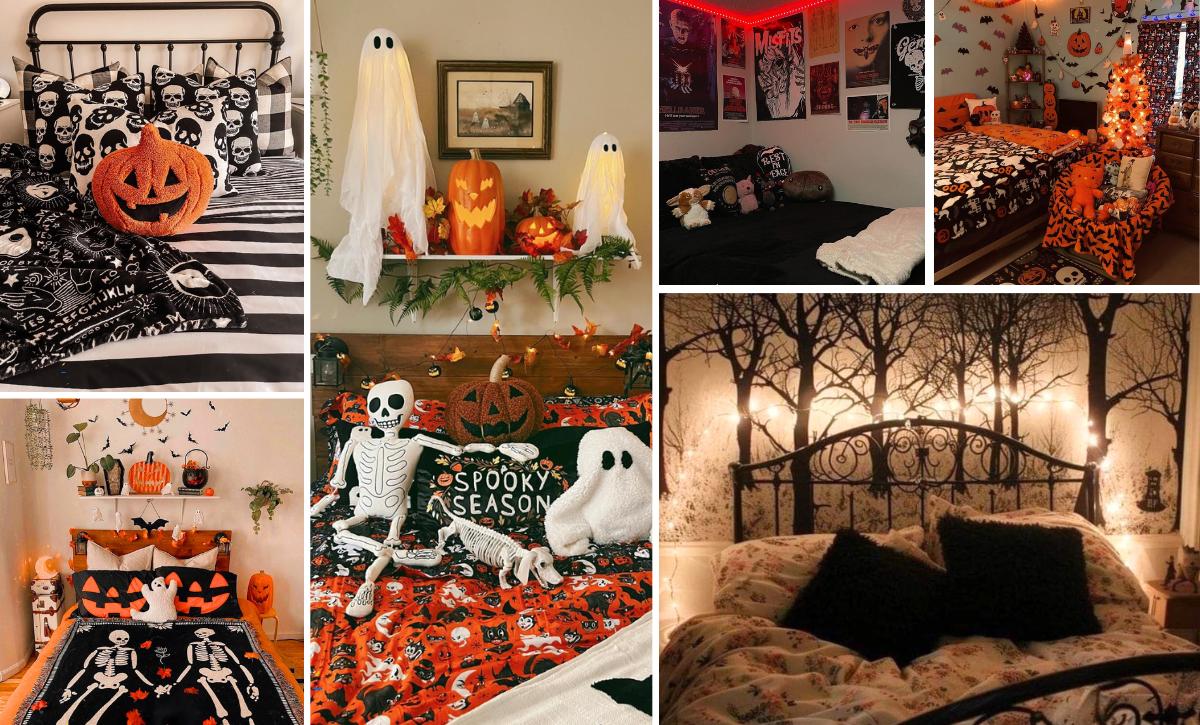
Spooky Halloween Bedroom Decor Ideas and Budget-Friendly Places to Shop

15 Cute & Trendy Crochet Summer Tops Ideas for Women

15 Tulip Picking Outfit Ideas – Cute & Practical Looks

Top 10+ Street Markets in Marrakech You Must Visit

Rain or Shine: Top 10 Women’s Raincoats That Blend Style with Storm-Ready Function
LATEST

Last updated: Mar 30, 2026

Last updated: May 5, 2025

Last updated: May 5, 2025

Last updated: May 6, 2025

Last updated: Sep 15, 2025